How to Winterize Your Outdoor Faucet?
November 9, 2023
Winter can be a harsh season for your home’s plumbing system. Outdoor faucets are particularly vulnerable to the cold weather. Frozen water in outdoor faucets can cause the pipes to burst, leading to costly repairs. In this article, we will discuss the steps you need to take to winterize your outdoor faucet and keep your plumbing system in good condition.
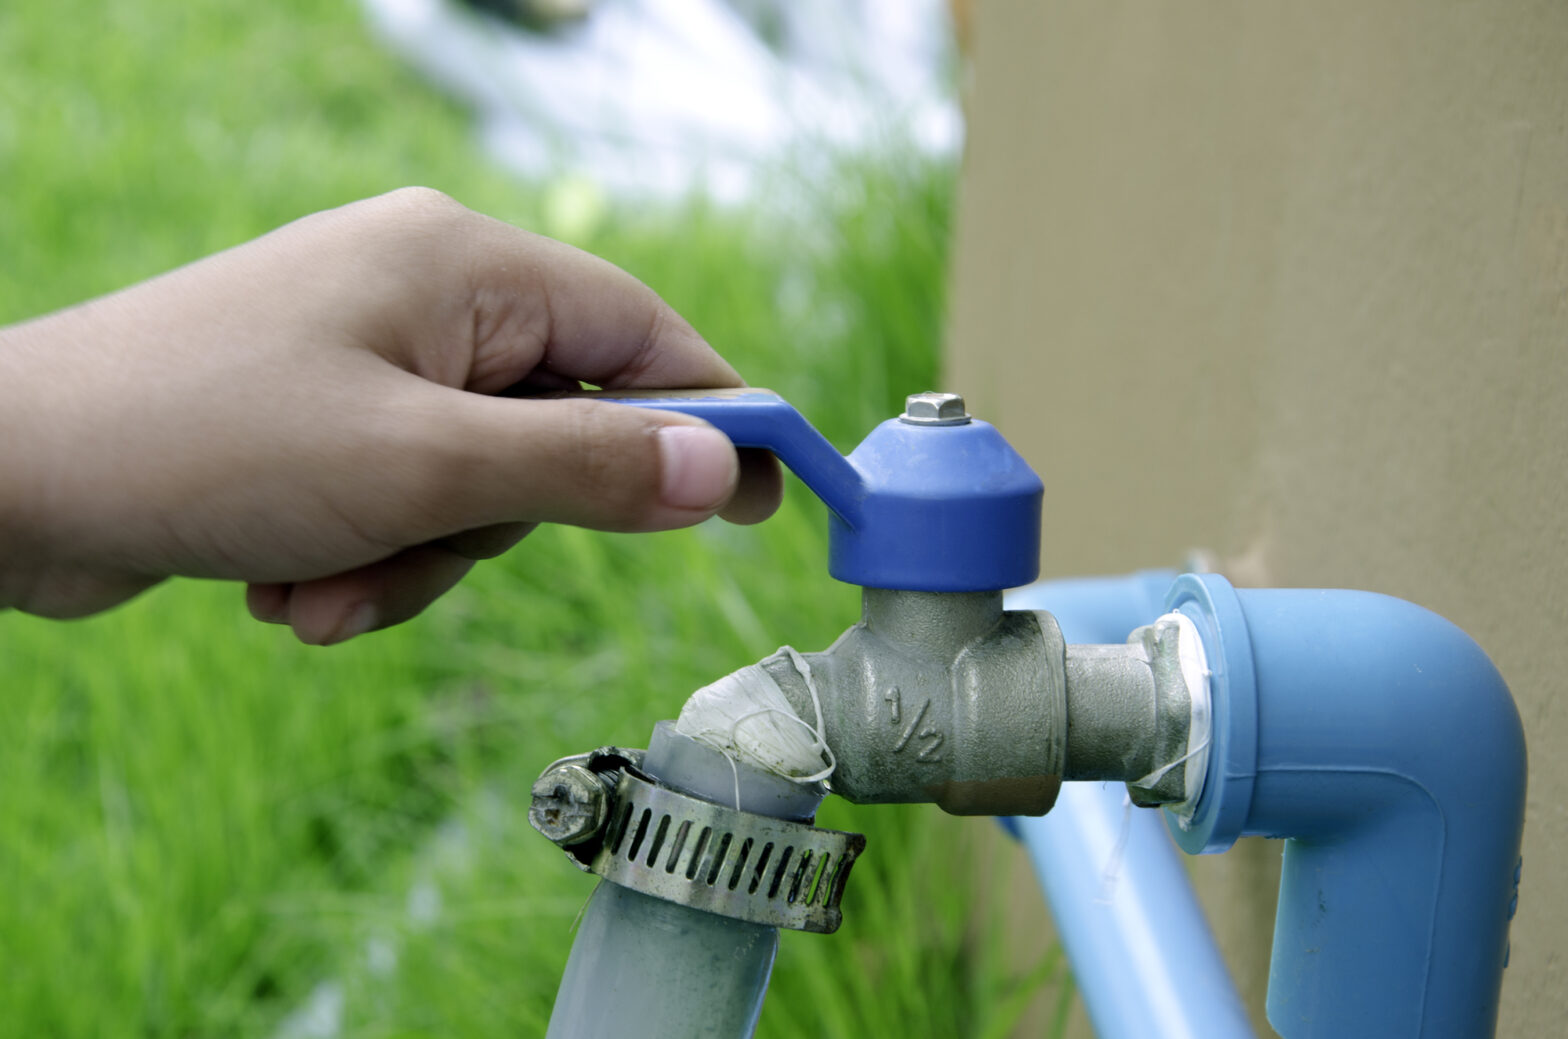
Step 1: Turn off the Water Supply
The first step in winterizing your outdoor faucet is to turn off the water supply. Locate the shut-off valve that controls the flow of water to the faucet and turn it off. This will prevent water from flowing through the pipes and freezing. Be sure to open the faucet and let any remaining water drain out.
Step 2: Disconnect Garden Hoses
Disconnect any garden hoses that are attached to the outdoor faucet. Leaving a garden hose connected to the faucet can cause water to back up into the faucet and freeze. This can lead to the bursting of the pipes.
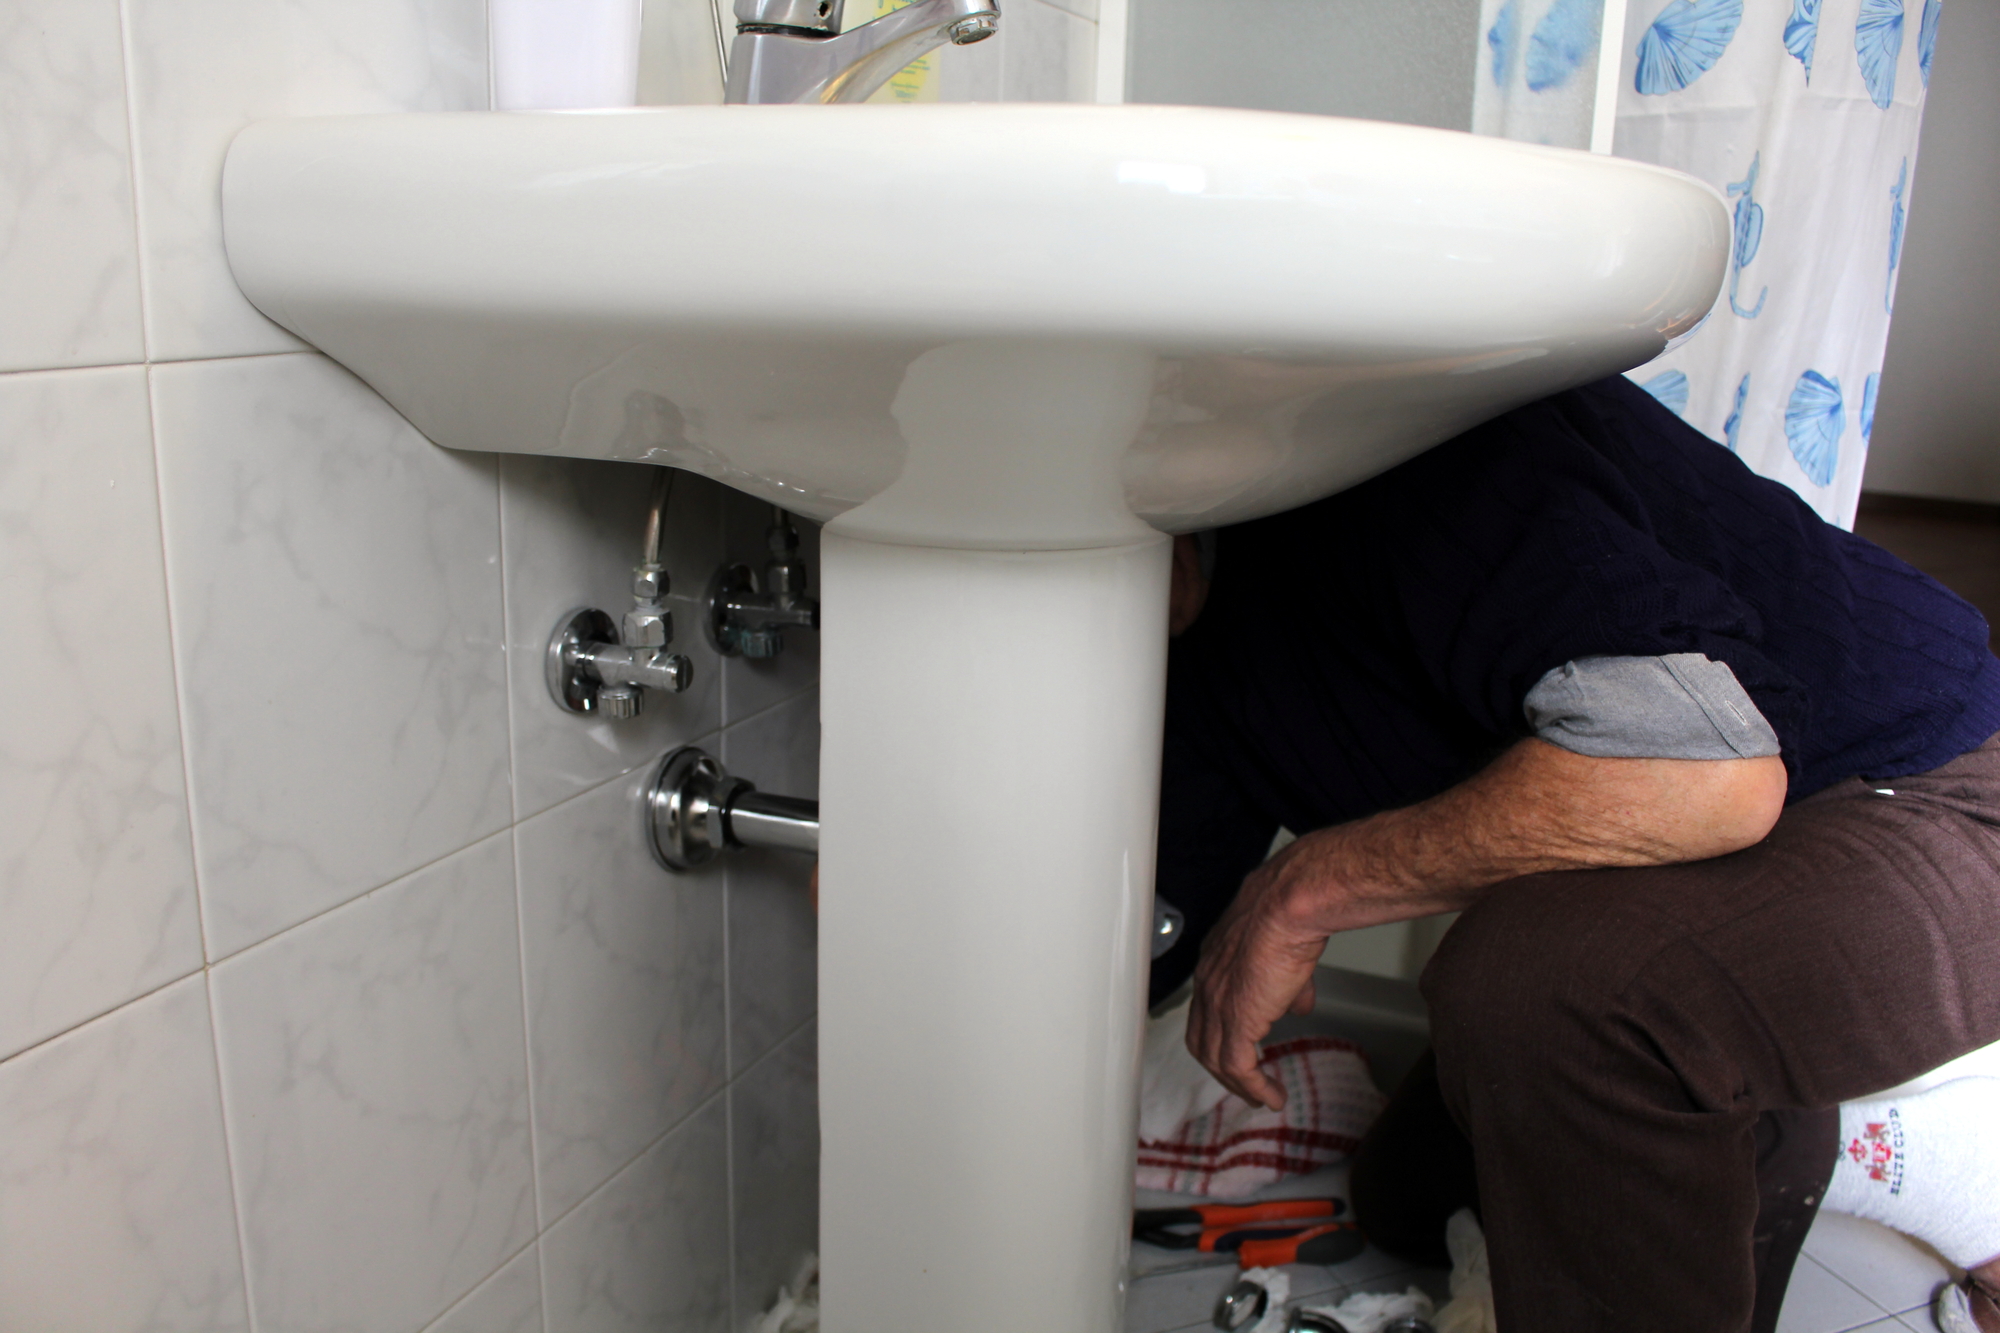
Step 3: Install a Frost-free Hose Bib
If you live in an area with harsh winters, consider installing a frost-free hose bib. A frost-free hose bib is designed to prevent water from collecting in the faucet and freezing. This type of faucet is installed deeper in the ground, and it has a longer stem that connects to your water supply. Water shuts off inside the house, so the exterior faucet remains dry and ice-free.
Step 4: Use Insulation
To further prevent pipes from freezing, you’ll want to insulate your outdoor faucet. You can purchase an insulated cover that slips over the faucet and is secured with a drawstring at the bottom. You can also make your own cover with foam pipe insulation. Wrap the foam around the faucet, covering it completely, then secure it with duct tape or zip ties.
Step 5: Apply Heat
In extreme cold, adding a heat source can help keep your outdoor faucet from freezing. There are several options. You can use a heat tape, which is wrapped around the faucet and plugged into an outlet. Another option is an infrared heat lamp. Position the heat lamp so that it shines on the faucet. Don’t forget to turn off the heat source when you are done using it.
Step 6: Check Your Drip System
If you have an automatic sprinkler or drip system, it’s important to winterize it as well. Turn off the water supply to the system and then open the valves to drain any remaining water. If there is water left in the system, it can freeze and cause damage. You may also want to wrap the backflow preventer with insulation.
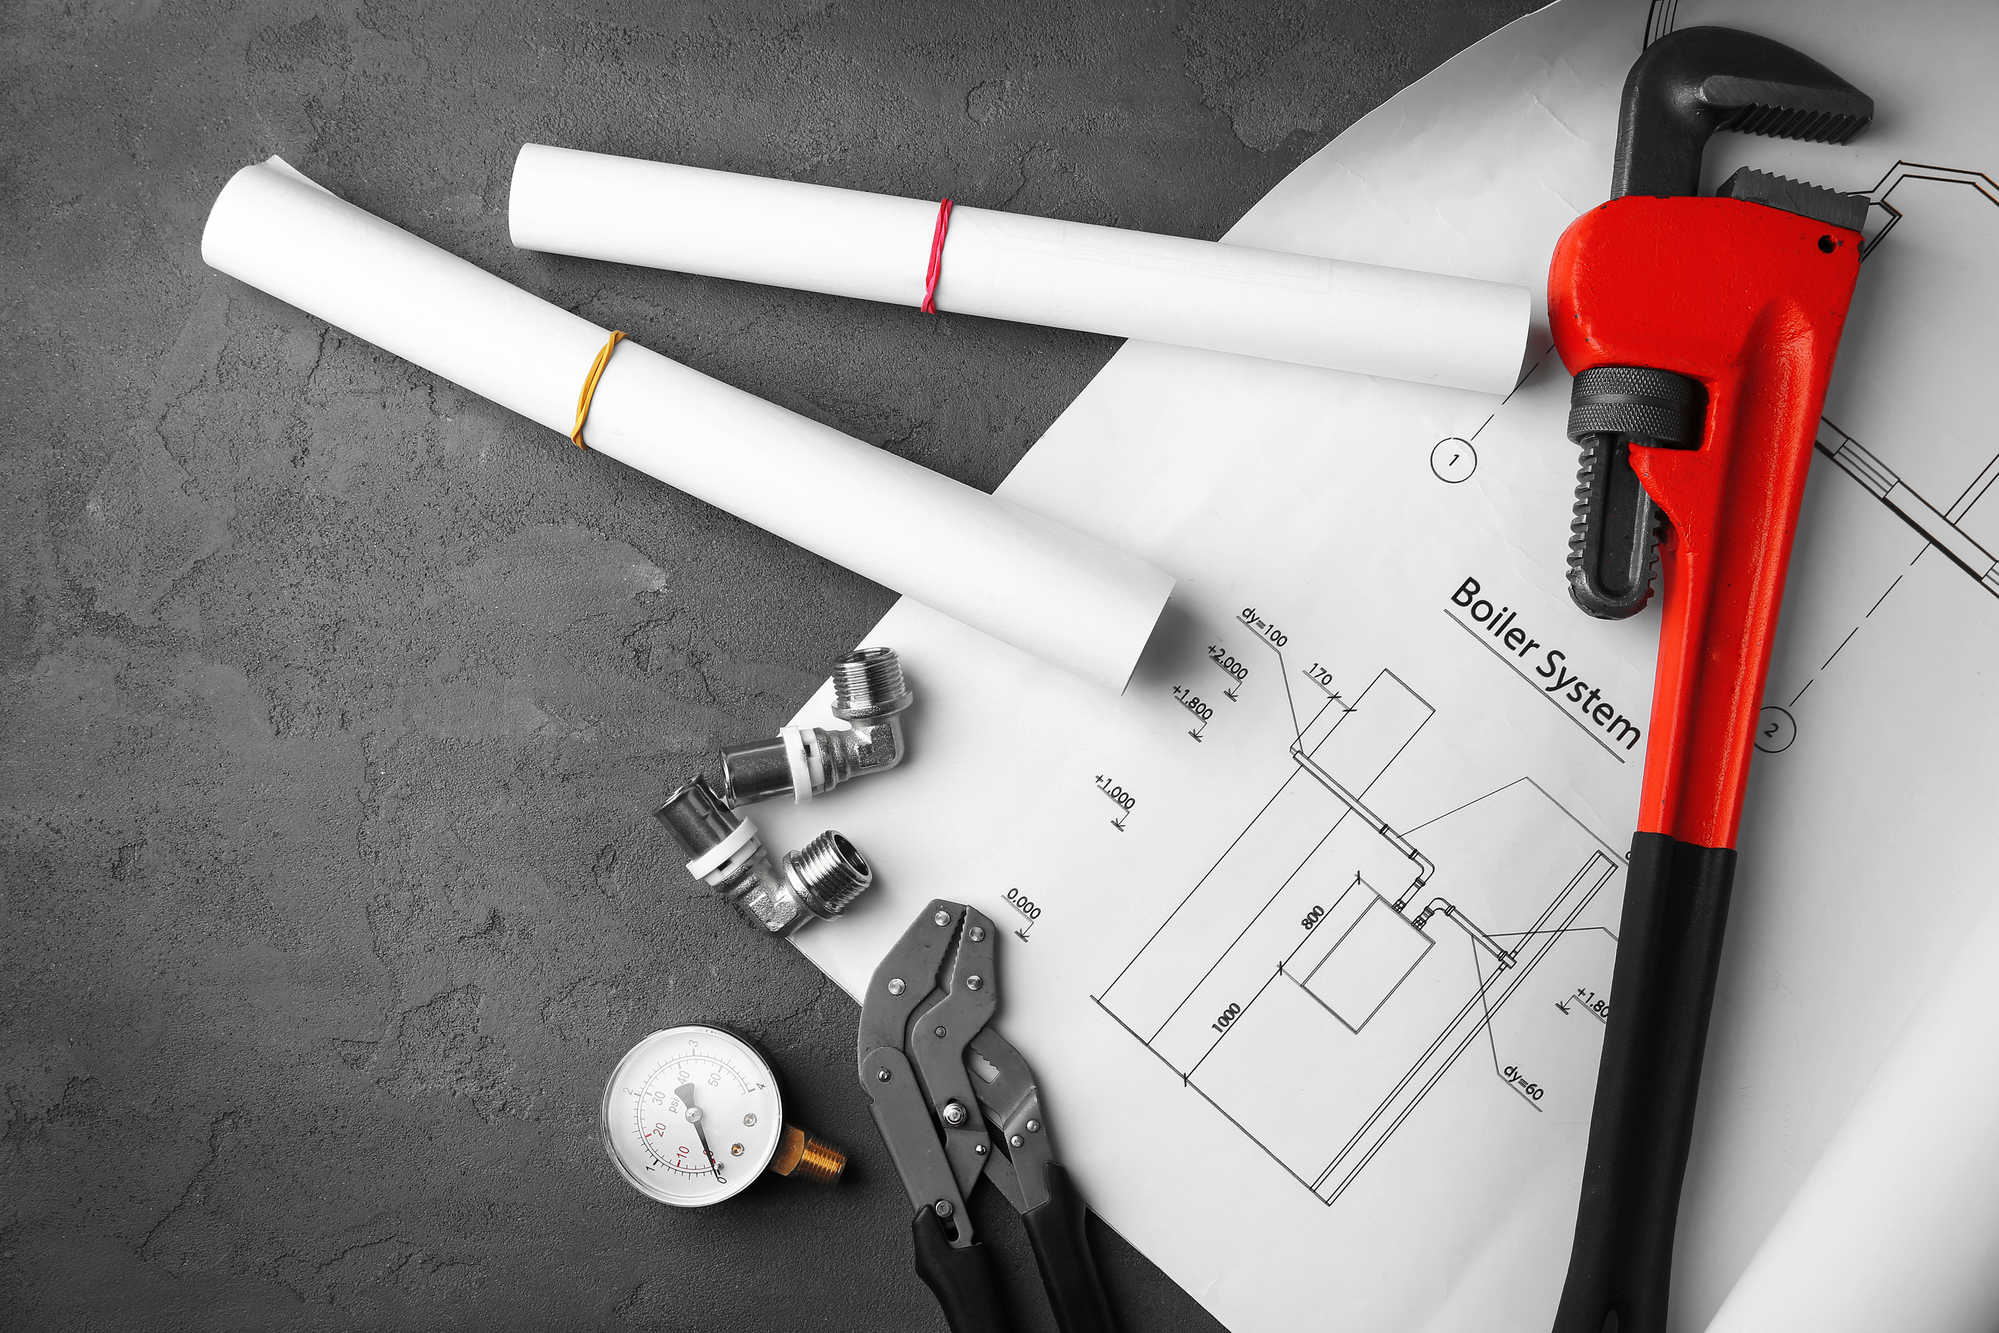
Conclusion
Winterizing your outdoor faucet may seem like a hassle, but it’s an essential task that can save you a lot of money in the long run. Take the time to turn off the water, disconnect garden hoses, and add insulation or heat to your outdoor faucet. If you’re not sure how to winterize your outdoor faucet, don’t hesitate to call the professionals at 247plumbers. Remember to visit our website, 247plumbers, for all your plumbing needs. Stay safe and warm this winter!